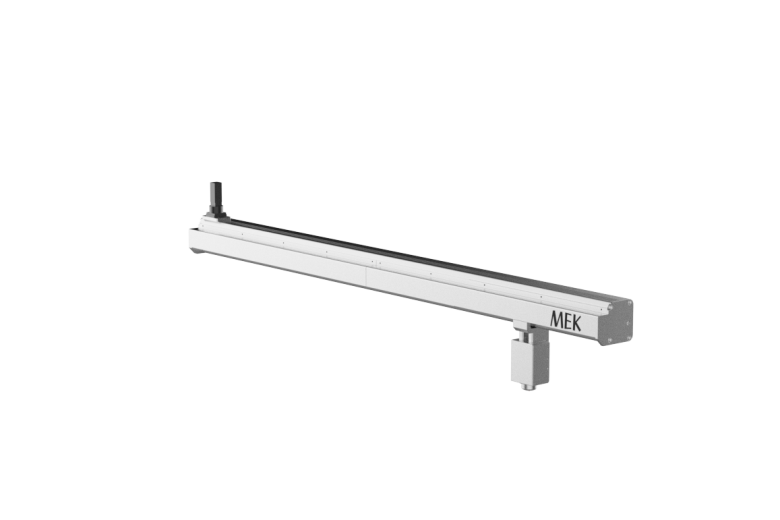
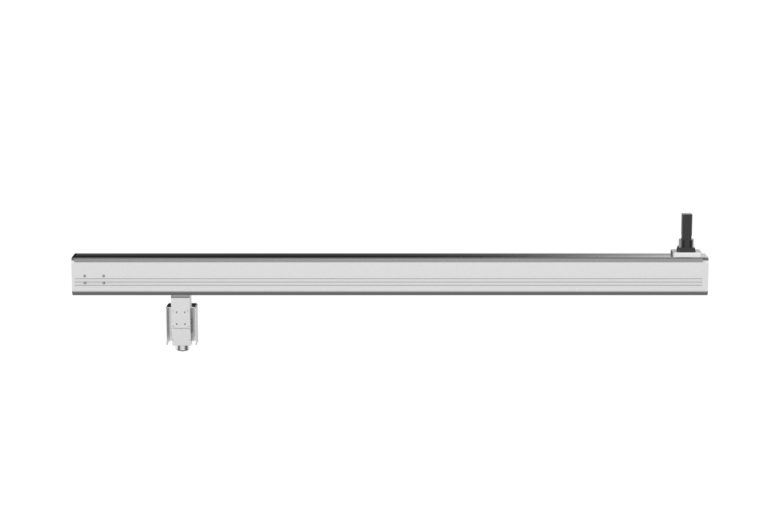
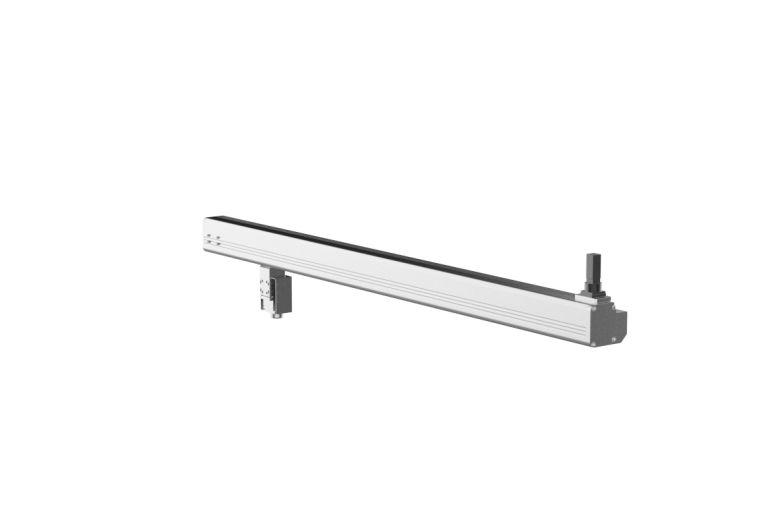
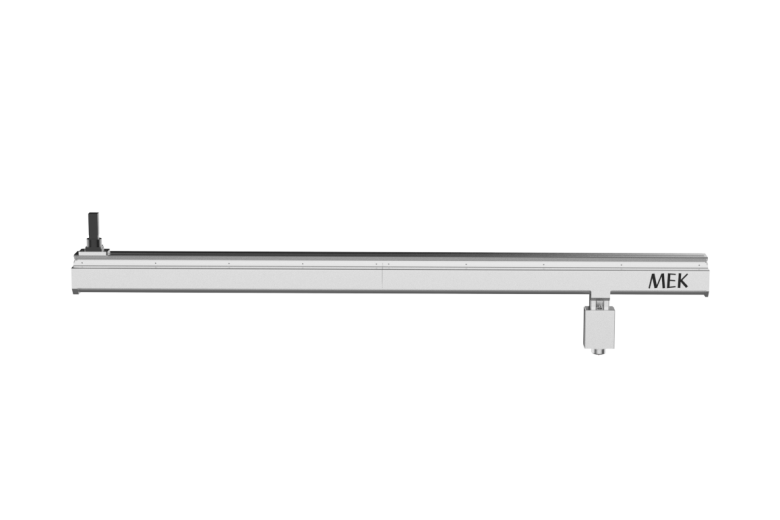
1020 Thickness Gauge
본문
페이지 정보

SPECIFICATIONS
| Description | |
|---|---|
| Application | coating, metals, paper, Film/sheet extrusion,etc. |
| Measuring range | 0~20µm |
| Measuring width | max. 10,000mm |
| Measurement pitch | 2mm |
| Scanning speed | 50mm/sec (Max100mm/sec) |
| Operating temperature | Up to 45℃ |
| Repeatability | ±0.1µm |
PROGRAM SOFTWARE
Features of the MEK Program
 • User-friendly Configuration - Intuitive Interface
 • Language Options - English, Chinese, Japanese
 • User HMI and Measurement Data Communication (Optional)
 • Customization to Suit User Requirements
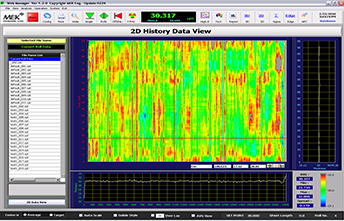
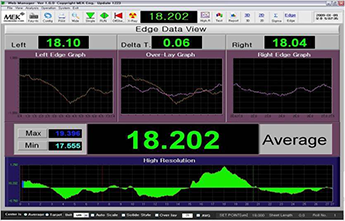
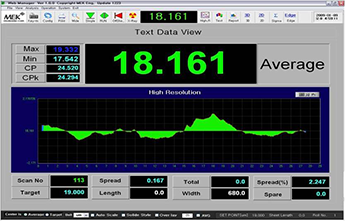
Default Screen
| Description | |
|---|---|
| Run Environment | LabVIEW-based proprietary software |
| Data display | gsm (basis weight) / um (thickness) Spatial resolution: 1mm |
| Data compatibility | Microsoft Excel, CSV |
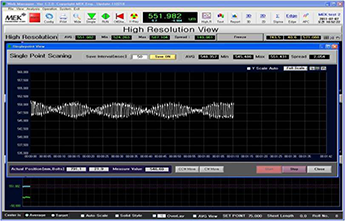
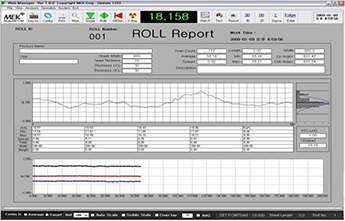
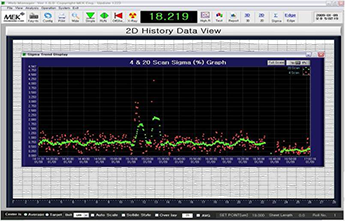
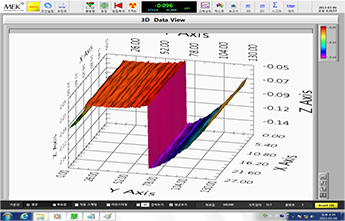
| Functions | Full automatic edge detection Full mapping of entire LOT (2D & 3D reconstruction) Real-time Profile & SPC (Statistical Process Control) Trend chart FFT (Fast Fourier Transform) Analysis of MD Profile LOT Statistics & History 4 & 20 Scan Sigma |
| Language | English, Korean, Chinese, Japanese (Hungarian translation available upon request) |
APC (Automatic Profile Control)
Features of the MEK Program
- • Optimized thickness control algorithm
- • Fast thickness control
- • Auto Mapping: Center bolt reference
- • Smooth Mill Roll appearance
- • Automatic adjustment of Control Gain within a few microns
- • Die bolt temperature feedback control (optional)
- • MD (Machine Direction) control available (optional)
Profile Changes After Applying APC
Before
APC control begins after the target thickness is changed from 60㎛ to 30㎛

After 5 minutes
Regulates Control Gain of the auto-die, reducing variation in thickness

After 10 minutes
Steadily analyzes and controls the thickness profiles

After 15 minutes
Within 15 minutes, produces the best result
